Quick Start — Guild owners
In about five minutes you'll have AO Master signed up, your guild created, and the basics configured so you can run a regear and invite the rest of your staff.
If you already signed up and just need the next step, jump to Step 2 — create the guild or use the sidebar to skip ahead.
Audience
This page is the owner track. Already a guild's staff and someone else handles billing? You probably want Quick Start — Staff instead. Just submitting your own regears? Quick Start — Members.
Step 1 — sign up
Open https://ao-master.com, hit Register, and create your account with email + password — or use Continue with Discord for a one-click OAuth flow.
Verify your email when the verification link lands in your inbox. Until you do, the rest of the app is locked. Full sign-up details + edge cases live in Sign up + verify email.
Step 2 — create the guild
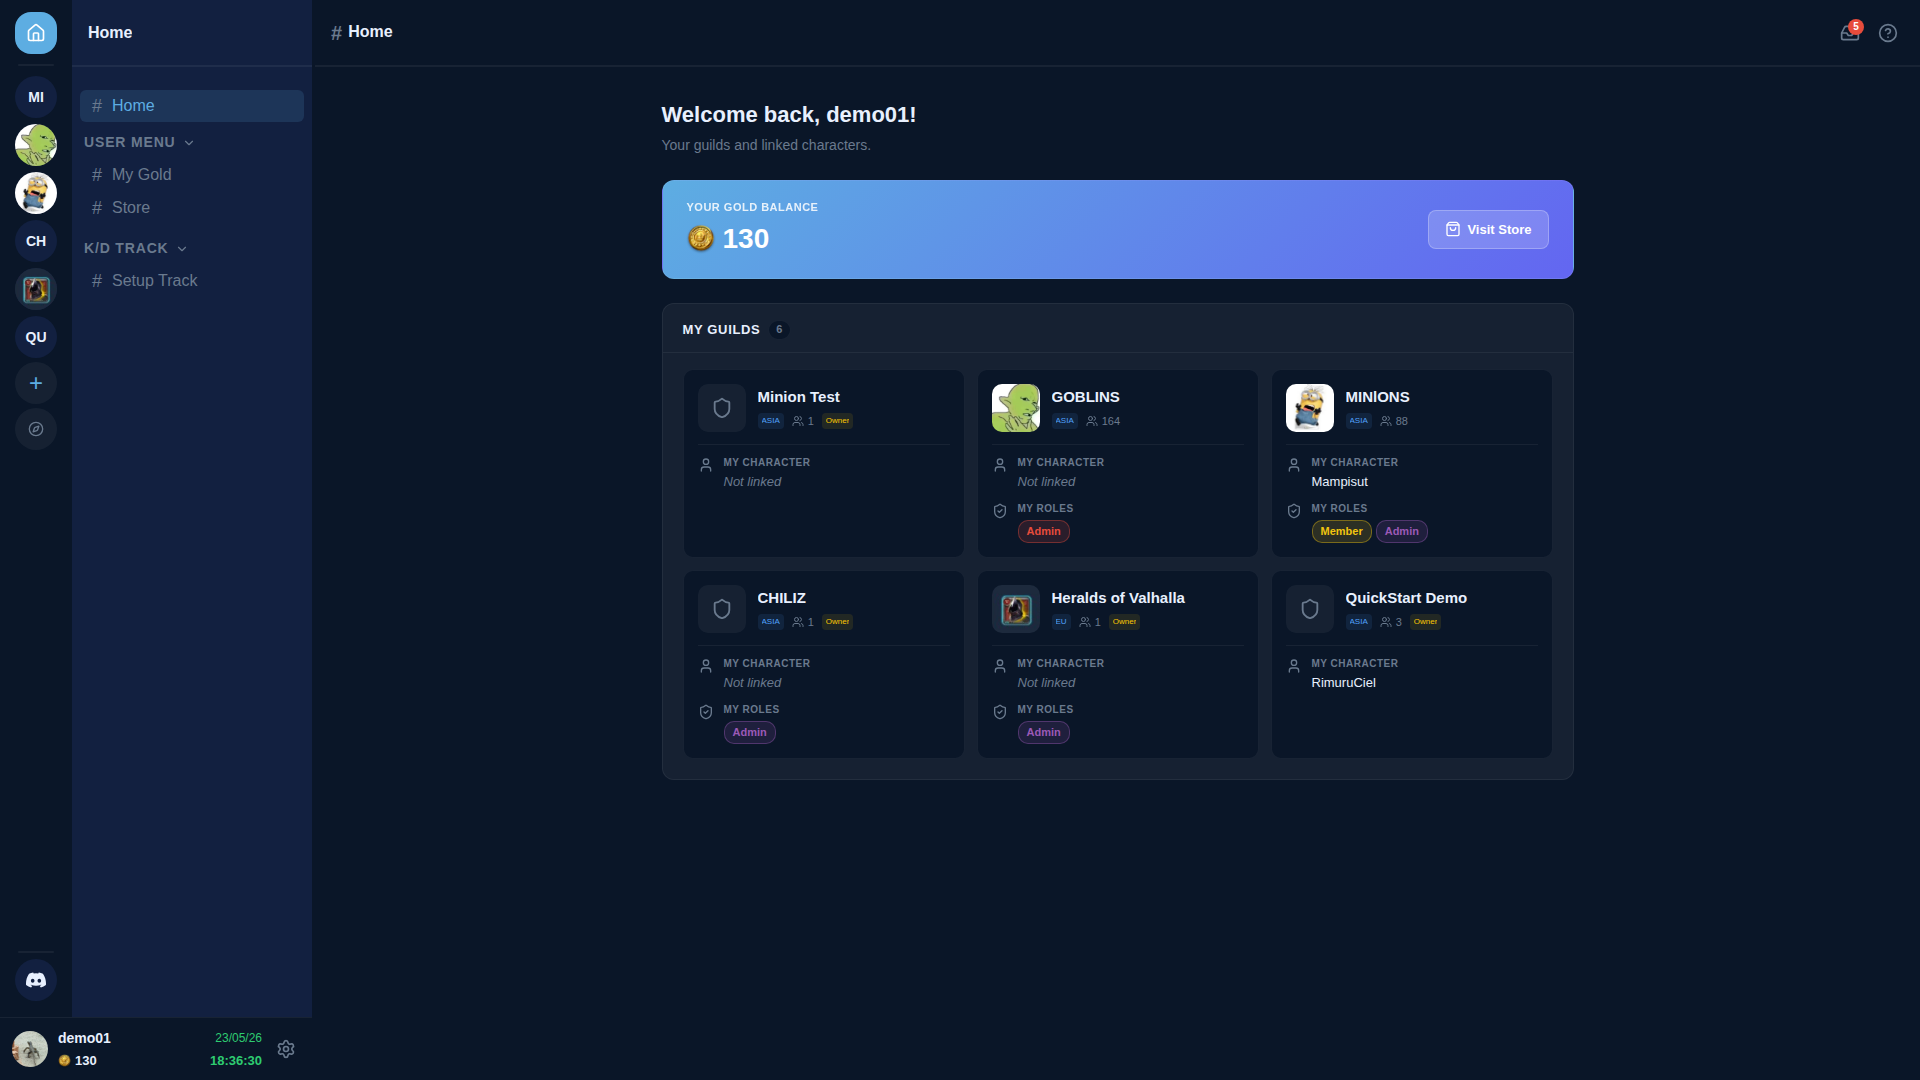
From your home dashboard (/channels/@me) you'll see your existing guilds (none, the first time) and a "+" button in the guild bar on the far left.
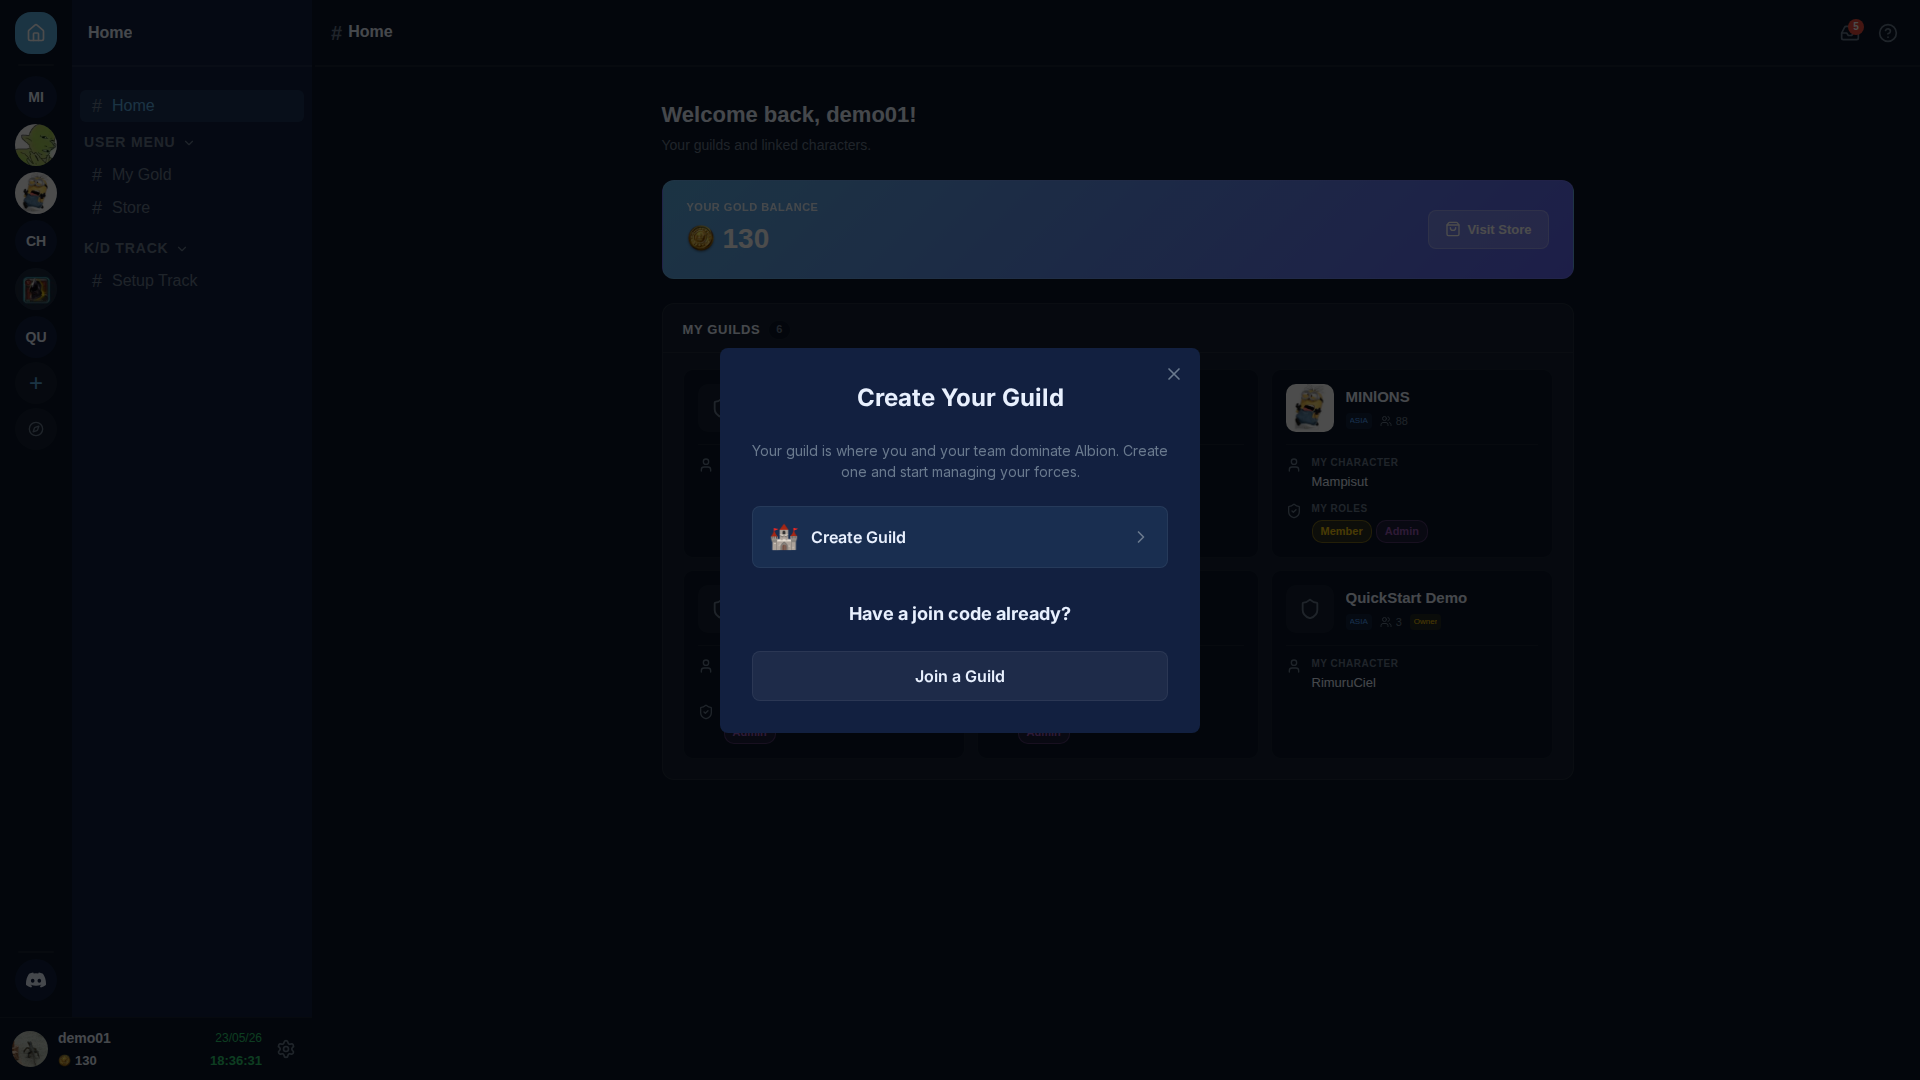
Click + to open the Create Your Guild modal. Two paths:
- 🏰 Create Guild — you're an owner / officer with permission to claim a guild on AO Master. This is the path for this guide.
- Join a Guild — someone else already created the guild on AO Master and gave you a join code. Use Quick Start — Staff for that path.
Pick 🏰 Create Guild. The next screen asks for your region (Asia / Europe / Americas) and the guild's name in Albion Online.
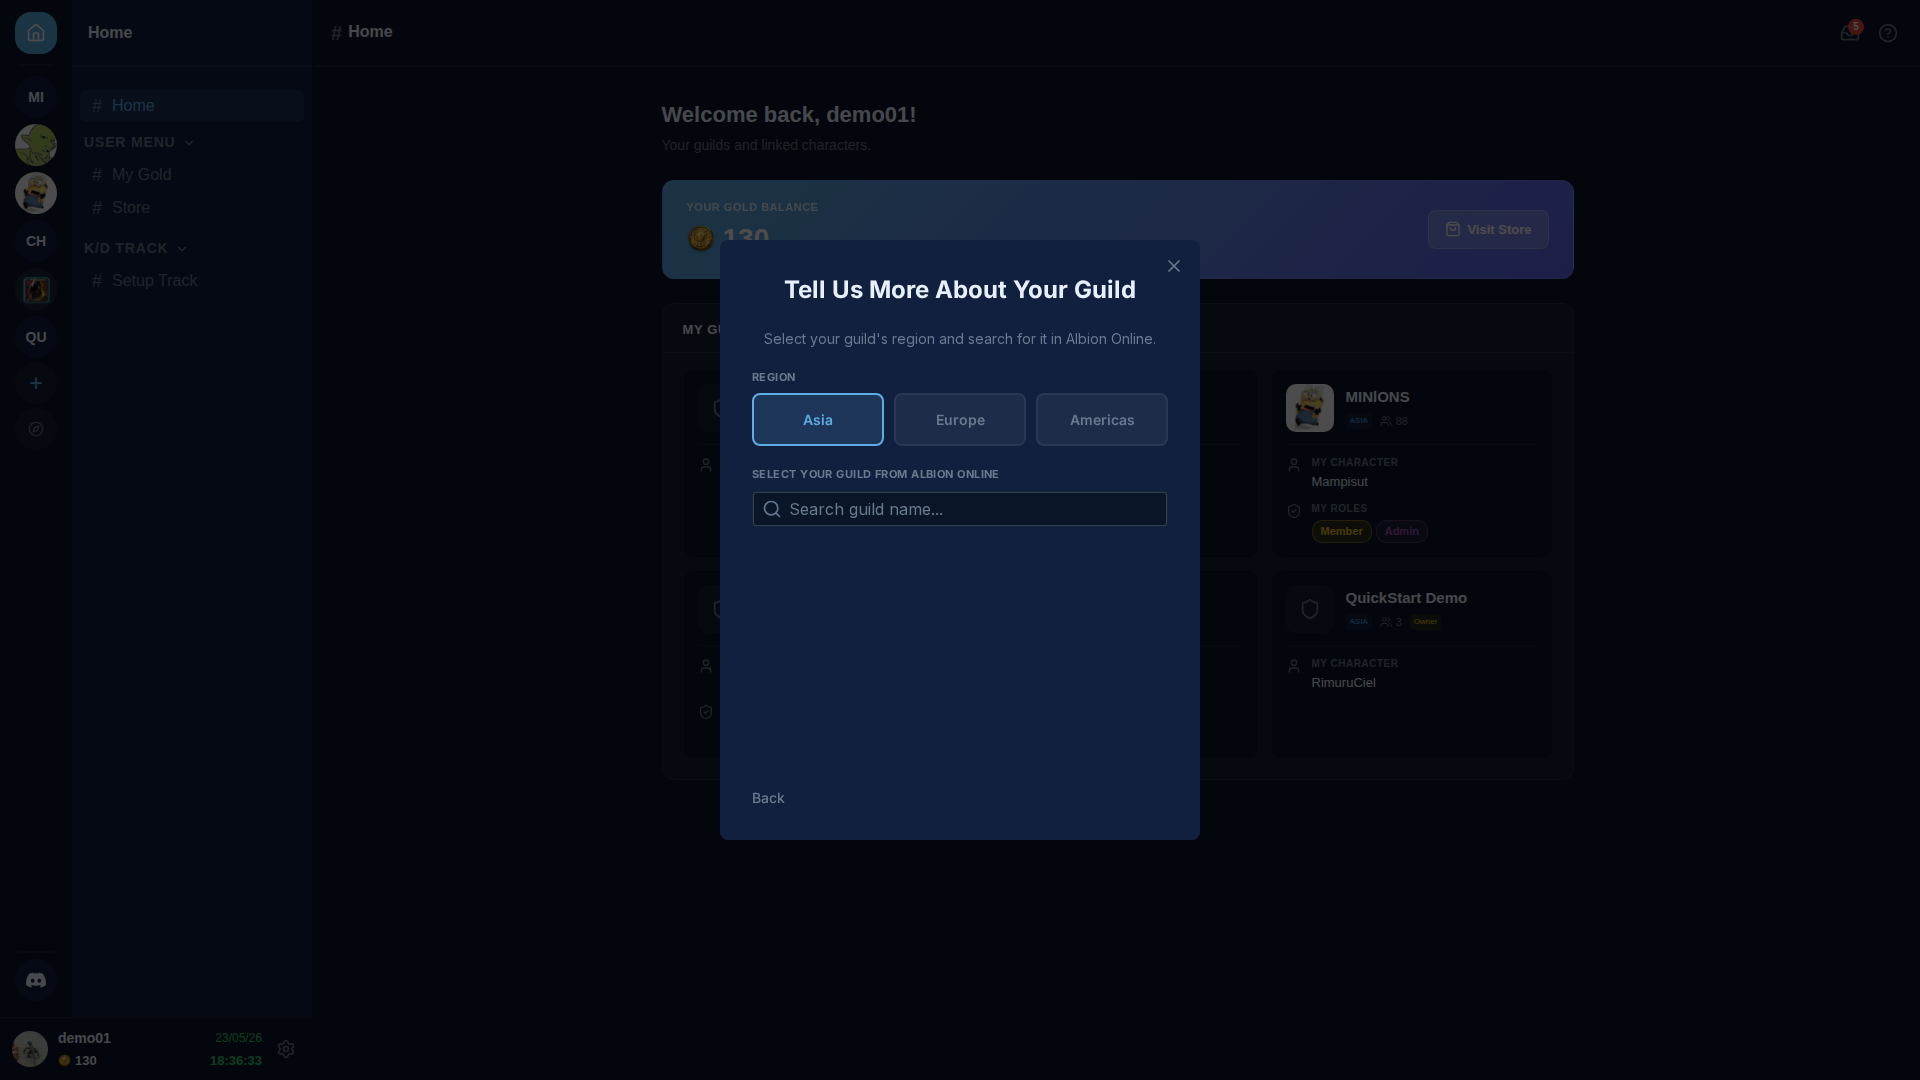
Pick your region, then start typing the guild's name. AO Master searches Albion Online's live guild directory and shows matches with their in-game ID and member count.
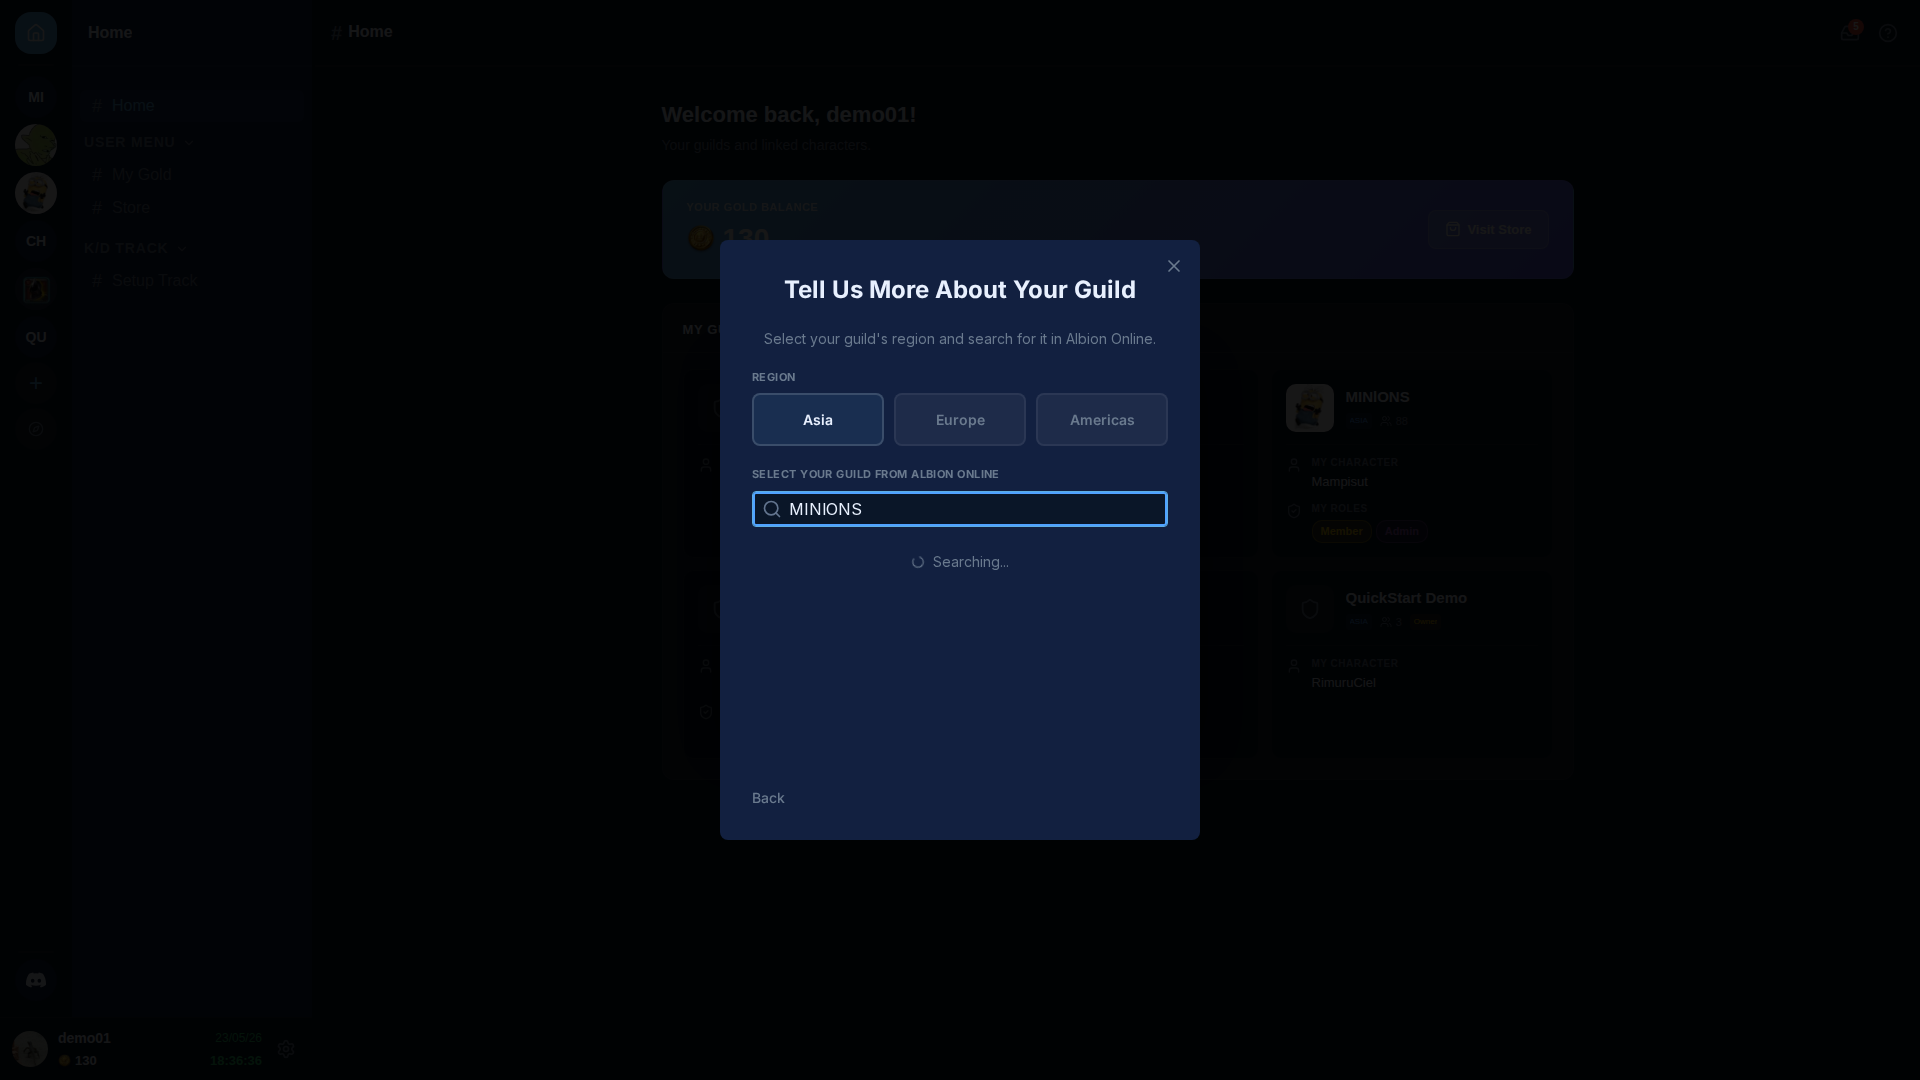
Click your guild to claim it. AO Master verifies you're a member of the guild on the Albion side (via the character you'll link in Step 4), then creates the guild record and drops you on the new guild's Welcome channel.
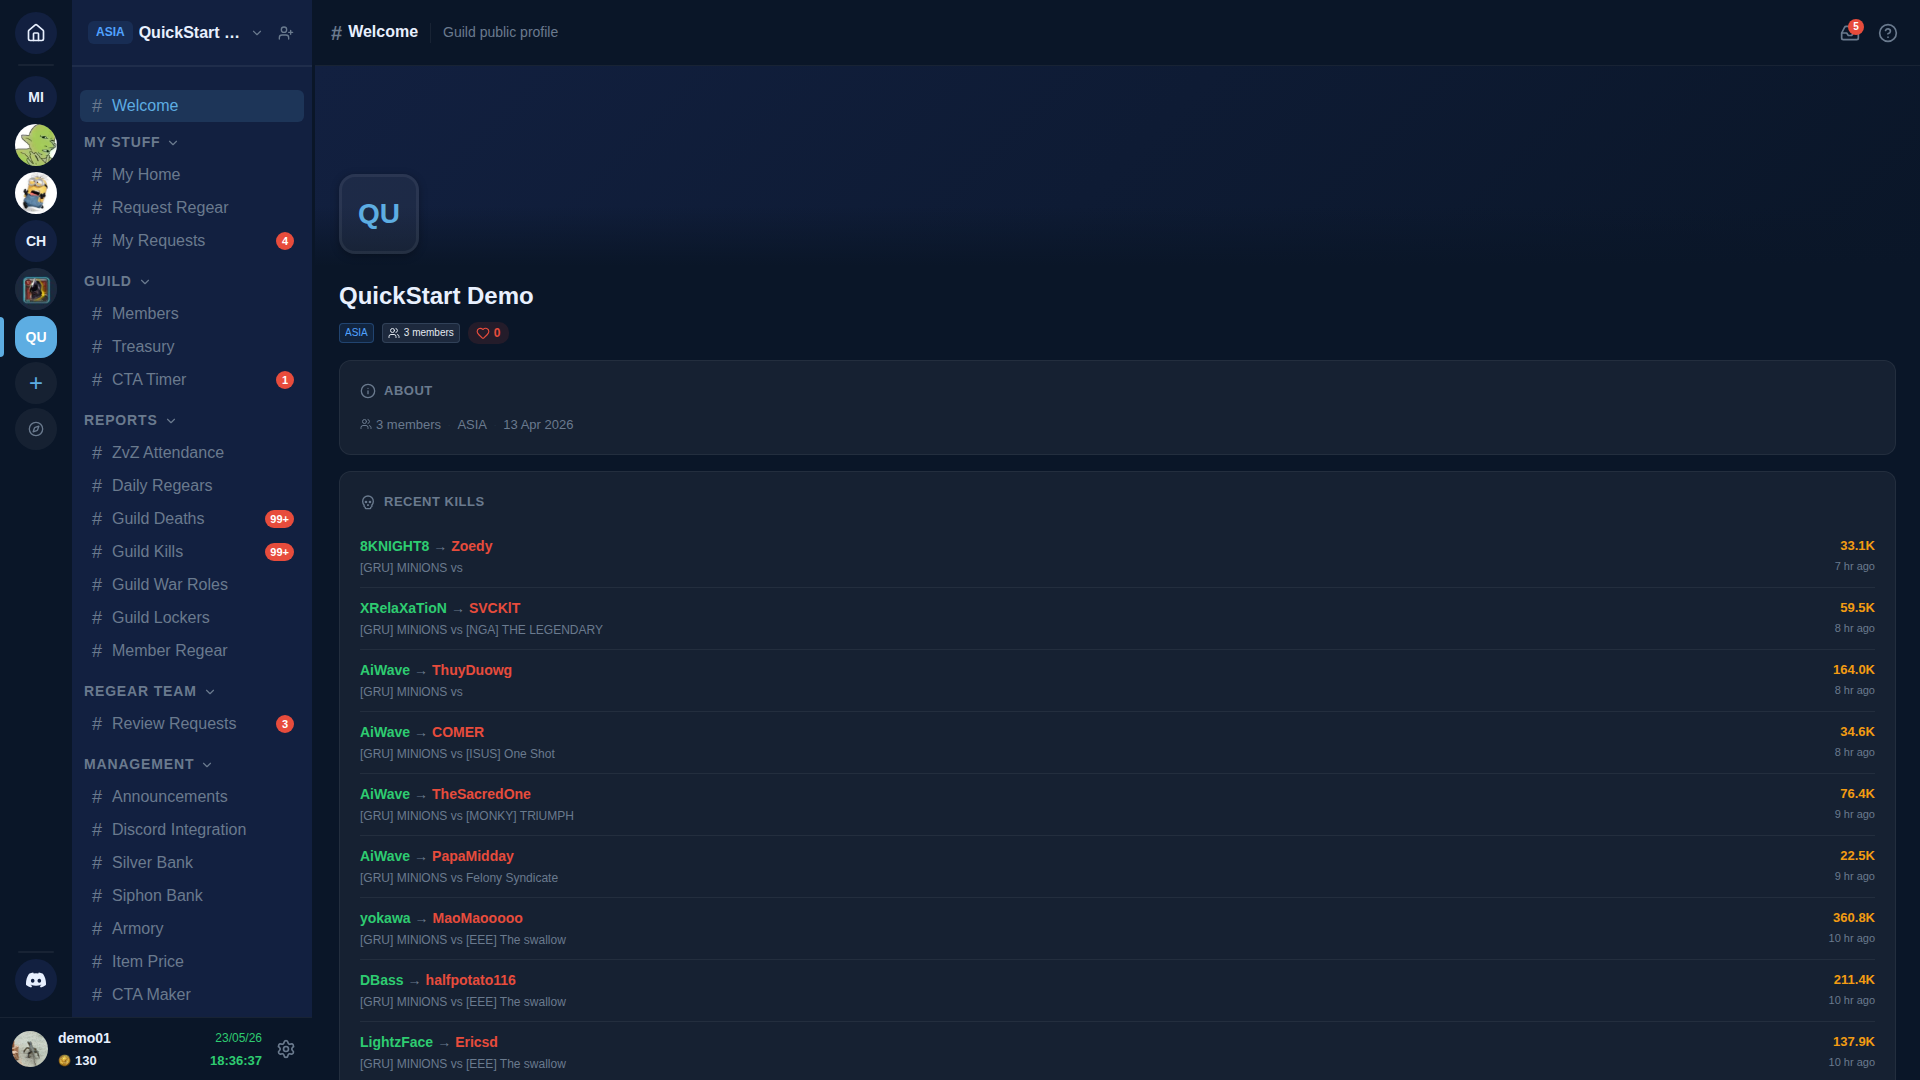
Step 3 — you're in the new guild
You land on the guild's Welcome channel. The left sidebar shows the channel list grouped into collapsible sections — MY STUFF (personal — #My Home, #Request Regear, #My Requests), GUILD (shared — #Members, #CTA Timer, #Treasury, plus #Allies once the Alliance feature is enabled), REPORTS (read-only roll-ups — attendance, kills, deaths, war roles, lockers, regear), REGEAR TEAM (staff queue — #Review Requests, #Cut-off Tasks), and MANAGEMENT (admin — #Announcements, #Discord Integration, #Silver Bank, #Siphon Bank, #Armory, #Item Price, #Crafting, #CTA Maker, #Join Requests). Each section reveals more channels as you and other staff enable features.
The header strip at the top of every channel page shows the channel name, a notifications bell, and a link straight back to these docs (Docs).
Step 4 — link your Albion character
Open the gear ⚙️ icon next to your username (bottom-left) to open your user settings, or open #members and use the per-member 🔗 Link action — both paths reach the same wizard.
The wizard searches Albion Online for character names matching yours, lists hits with their guild affiliation, and links the character to your AO Master account. Linking proves you're actually a member of the Albion guild you just claimed, and unlocks per-character features (your locker, your regears, your war-role assignments).
Full detail + force-rename + roster-lag edge cases live in Link Albion character.
Step 5 — enable the systems you want
Open the guild Settings (gear ⚙️ next to the guild name in the sidebar) → Guild Systems tab. Toggle on the features your guild will actually use:
- Silver Bank — guild silver ledger + member wallets.
- Siphon Bank — siphoned-energy tracking + per-member debts.
- Armory — chest inventory + Low Stock alerts.
- ZvZ System — unlocks CTA Maker, CTA Timer, Party Board, ZvZ Attendance (each as a sub-toggle inside the ZvZ System card).
- Item Price — live market data; used by the silver-mode regear payout calculator + cut-off task pricing.
Each toggle is the canonical home for that system — never re-toggle from inside a feature page. Toggling off disables every dependent feature; each card shows a Used by: list so you can see who depends on it before flipping it off.
Two newer pipelines aren't on the Systems tab — they're tier-gated rather than user-toggled, so they appear once your guild reaches the right tier:
- Crafting Material Planner (channel
#Crafting) — Basic tier and above. Plan a crafting run by item and let the planner work out the exact materials, discounted by your station's resource return rate. See the Crafting Material Planner. - Alliance (channel
#Allies) — Pro tier and above. Wires up the cross-guild ally pipeline so partner-guild members can apply as allies on/ally/<code>(or via Discord) and appear in your #Allies roster with an Ally Role chip instead of a regular role. Configure on Settings → Recruitment (Ally outer tab) + Discord Integration (Integrations → Ally sub-page).
Step 6 — pick your regear mode
Open Settings → Regear Policy. Choose how staff will pay regears:
- Item mode — staff packs items into lockers; recipients pick them up. Picks Cut-off Tasks + Lockers as your delivery surface. This is the classic flow.
- Silver mode — staff approves a regear; AO Master credits silver from your guild's Silver Bank directly to the recipient's wallet. No locker handoff, no Cut-off Task. Requires Silver Bank enabled and configured payout caps.
The mode affects what the Review Requests page shows and which sidebar channels appear. You can switch later, but pending approved requests must be cleared first. Detail in Regear pipeline overview.
Step 7 — invite the rest of your staff
Open Settings → Recruitment. On the Member outer tab, click + Create Enlistment Link to generate a join code (or set up the Discord-side [Enlist] ticket flow if you've paired the bot via Discord Integration). Share the link with the people who need to be in the guild on AO Master.
Each new member shows up in #Join Requests (visible to roles with the Approve Enlist Members permission); approve them, assign roles, and they're in. Full reference on Settings → Recruitment.
What's next
- Run a Regear — overview — end-to-end pipeline, both modes.
- Discord Guide Bible — pair the bot to your Discord server, set up the public Enlist pipeline, and keep role assignments in sync between web and Discord.
- Permissions reference — full permission list for designing your role tree.